
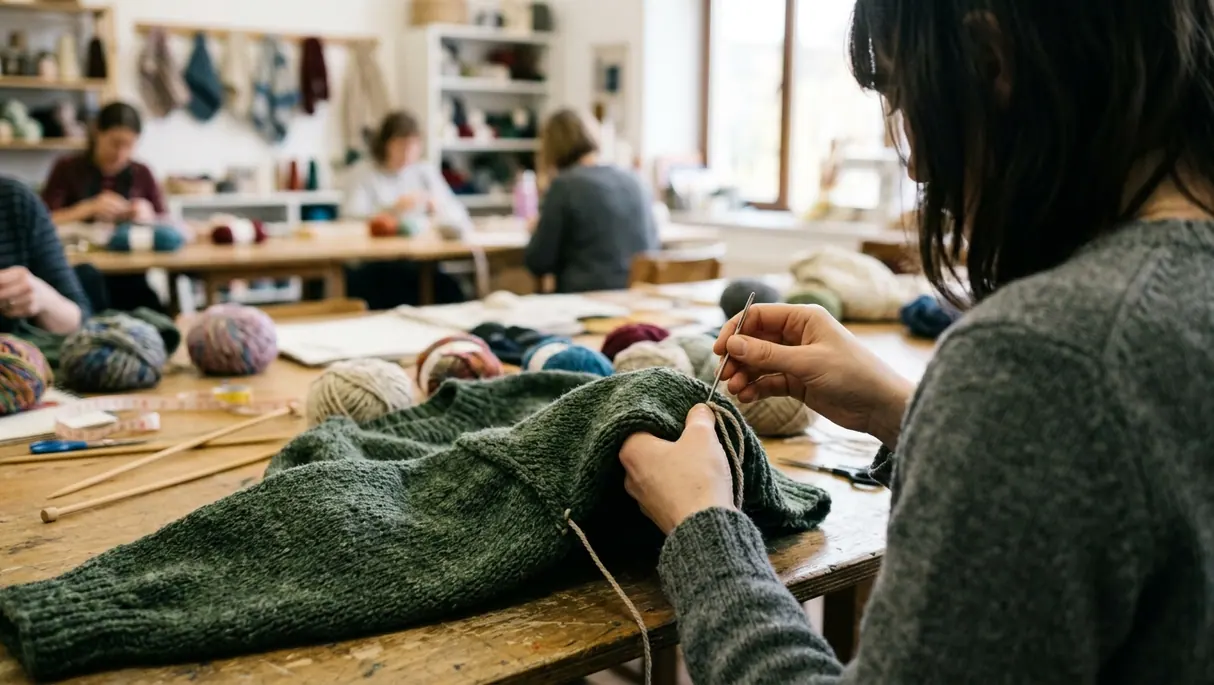
Why a sweater slips at the shoulders
Why do so many hand-knit sweaters lose their shape at the shoulders and hem after just one season of wear? Picture a worsted-weight pullover that still fits across the chest. Its shoulder line has crept outward, though, the armholes hang lower, and the hem gathers around the hips. The stitches are intact. The shape they made has shifted.
Follow the weight from shoulder to hem. Knitted fabric consists of interlocking loops, each able to move a little against its neighbors. When the sweater hangs, those small movements accumulate down the length of the body. The fabric lengthens, and the open loops near the armhole can spread. A stretchy yarn may pull some of that movement back; a heavy, less elastic yarn often holds onto it.
Seams give those loops a boundary. A sewn shoulder join supports the fabric hanging below it. The side seam runs beside the long column of body stitches and resists their downward pull. Together, these joins form a skeleton for the sweater: relatively firm lines at the places where a continuous knitted surface would otherwise stretch most freely.
A side seam should feel like a quiet stay, not a cord tugging the sweater out of shape.
That distinction matters when choosing a construction method. A seamless tube offers uninterrupted knitting and a soft finish. Separate pieces offer places to control length, align edges and reinforce the garment. The choice starts with the fabric in hand, not with a preference for sewing or avoiding it.
Pin the panels before they become a sweater
A wet, seamless sweater can be awkward to block. Lift the body and the sleeves follow; straighten one side and the other shifts. With a dense yarn, the garment’s own weight makes it harder to see whether the finished outline matches the knitting pattern’s schematic.
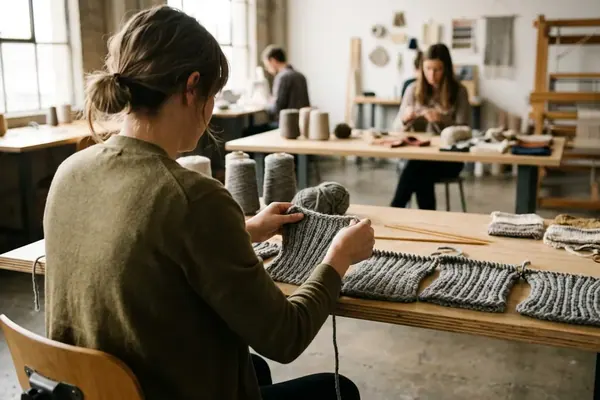
Flat pieces make that comparison plain. Lay the soaked front on a blocking surface and bring its edges to the schematic measurements. Repeat with the back, then with each sleeve. The fabric can be pinned along a straight hem, across a shoulder and around an armhole while every edge remains visible. If the front and back need the same side-seam length, check them together before either piece dries.
Check the edges that will meet
Start with the cast-on edges. Do they sit at the same point on the drawing? Move upward and compare the sides, then check the shoulder and armhole outlines. A panel that appears rectangular on the needles may show a subtle lean once it lies flat. Pinning it to the intended outline gives the stitches a chance to settle there before assembly.
Let each piece dry completely before removing the pins. Blocking sets the stitches in the shape used for seaming, so the knitter joins matching edges rather than forcing one damp, shifting piece to fit another. It also makes a twist easier to catch: if a sleeve leans or a front panel pulls diagonally, the problem is visible on the mat, while its edges can still be assessed separately.
Blocking cannot replace a sound gauge swatch or turn a substantially undersized panel into the correct size. Its useful job is more exacting. It establishes the finished measurements the pieces can reasonably reach, then gives the seams clean, stable edges to join.
Give heavy yarn a vertical stay
Alpaca can make a beautiful, fluid sweater. So can cotton, silk and superwash wool. Their drape is part of the appeal, especially in a plain body where the yarn gets room to move. It also asks more of the garment’s construction: a heavy or less elastic column of stitches keeps pulling downward during wear.
A knitter choosing a drop-shoulder cotton pullover might notice that the swatch grows when hung, even after it has dried flat. That observation changes the pattern choice. A sewn shoulder supports the top of the body, while seams beneath the arms run down to the hem and help the side edges keep their intended length. The join provides a vertical stay beside the fabric without erasing its drape across the front and back.
The underarm deserves a close look, too. It carries movement from the body and sleeve whenever the wearer reaches forward or lifts an arm. Where the pattern includes a set-in sleeve, its sewn join gives that area another firm edge. In a drop-shoulder design, the shoulder, sleeve and side joins need to meet neatly so the load does not collect at a loose gap.
When a seamless yoke earns its place
Seamless top-down construction suits lightweight, highly elastic non-superwash woolen-spun yarns. Their spring helps the loops recover, and a light fabric asks less of its shoulder line. For a heavier alpaca, cotton, silk or superwash garment, that same continuous construction supplies less restraint against vertical growth. The practical question is how the blocked fabric behaves when it hangs.
Try holding a dry swatch from its top edge and looking at the row spacing. If it visibly lengthens under its own weight, imagine the full sweater hanging from its shoulders. That simple comparison will not predict a finished measurement, but it can make the case for flat pieces and side seams before the knitter commits to a pattern.
Sew the side of a worsted drop-shoulder sweater
The blocked front and back of a worsted-weight drop-shoulder sweater are ready on the table. Their side edges match, and the knitter wants a join that will hold them together without making a ridge against the wearer. Mattress stitch works well here because it draws the edges together from the right side and lets the knitter inspect the line as it forms.
- Align and mark the edges. Lay the blocked front and back panels right-sides up, side by side. Match the cast-on edges first, then bring the side edges together up to the underarm. Fasten locking stitch markers through both panels about every two inches. Check that corresponding rows remain opposite each other rather than letting one panel creep ahead.
- Choose a steady seaming yarn. Thread a blunt tapestry needle with smooth, strong yarn in a matching color, preferably non-superwash wool. The yarn can match the garment’s weight or be slightly finer. Leave enough length to work comfortably, and secure the starting end at the cast-on edge without pulling the hem upward.
- Work mattress stitch up the side. Find the horizontal bar between the edge stitch and the next stitch on the front panel. Pick it up with the needle, then pick up the corresponding bar on the back panel. Continue alternating sides for a short stretch before drawing the seaming yarn snug. The knitted edges should meet cleanly; if they pucker, ease the seam before continuing.
- Finish at the underarm. Remove markers as the seam reaches them and keep checking that the hem stays level. Secure the yarn at the underarm, weave in its end along the seam allowance, then turn the sweater to inspect the inside. The completed join should run straight from aligned cast-on edges to the underarm.
Now repeat on the other side. Set the sweater on a flat surface with its hems aligned, smooth the front and back downward from the shoulders, and compare the two side seams. The knitter has a usable check before the first outing: matching edges, level hems and firm joins that support the fabric while the worsted yarn keeps its soft drape.


Discussion
No comments yet. Be the first!
Write a Comment