
The scarf came off the hook at twenty past four, and the first thing I did was turn it over.
That flip is the whole test. Not the first insertion, not the tidy forward pass, not the satisfying zip of the return row. Turning the cloth is the only honest check that both faces survived the hook, and on a reversible Tunisian scarf it is the moment where the technique either holds or quietly falls apart.
In this Article
- Four O'Clock Light and the Flip Test
- Why Two Passes Build a Cloth With No Reverse Side
- A Fourteen-Inch Shaft and a Yarn That Keeps Its Plies
- Starting in the Back Bump So the Hem Can Be Mirrored
- Pushing the Hook Between the Bars
- Curl, Edge Drag, and the Braided Selvedge
- A Top Edge That Reads as the Hem's Twin
Four O'Clock Light and the Flip Test
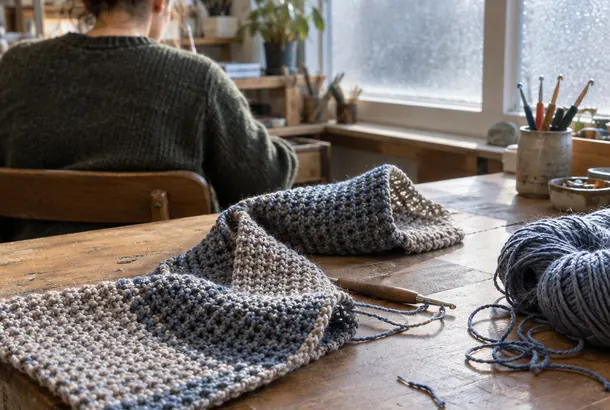
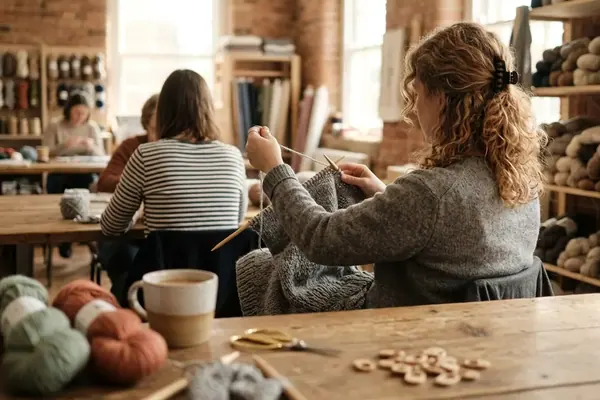
I work this particular project at the north window, and I do it on purpose. Between roughly 15:30 and 16:45 in midwinter, the sidelight comes in low and raking, with frost still sitting on the lower third of the pane. That angle reads the vertical ridges on a Tunisian fabric the way a lamp never will. Overhead light flattens the surface into a grey field; sidelight throws every bar into relief, which is exactly what you want when you are judging whether the back face matches the front.
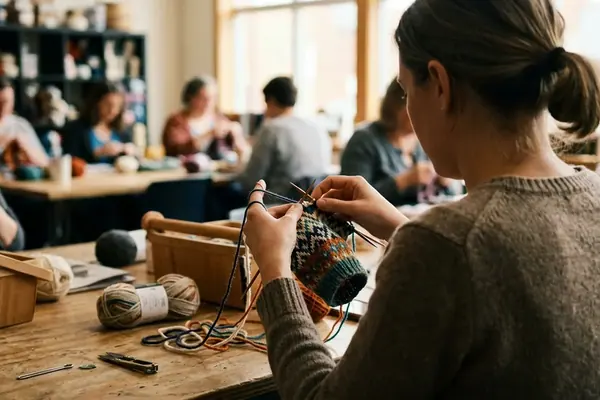
A 14-inch wooden Afghan hook stays in the frame the entire time, because the full scarf width is still living on the shaft while the fabric is being judged. Six to eight inches of live loops, all of them waiting. One sitting of forty to fifty-five minutes frees roughly a seven-inch by ten- to twelve-inch rectangle of squishy, double-faced cloth from the hook.
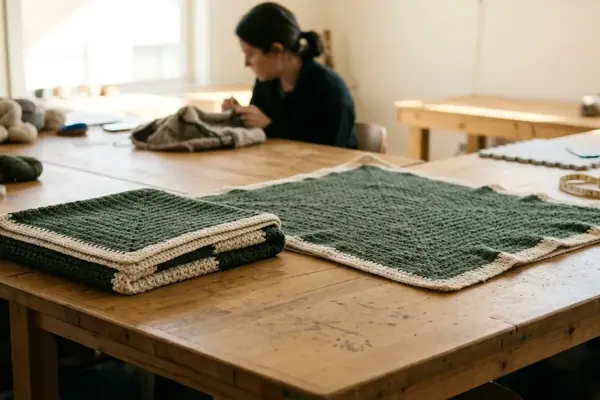
And then you flip it. Front face: neat columns of vertical bars. Back face: neat columns of vertical bars. Same ridge, same rhythm, no barred, purl-ish reverse announcing which side was public and which was private.
That is the cloth I'm after.
Why Two Passes Build a Cloth With No Reverse Side
Tunisian crochet runs on a two-pass engine. On the forward pass you load one loop per stitch across the entire width, and not a single loop comes off the shaft until the width is complete. On the return pass you chain one, then yarn over and pull through two, over and over, until one loop remains.
Think of the return pass as weft. It lies across the loaded loops and binds them, and that binding is what densifies the cloth into something closer to weaving than to ordinary crochet. A finished piece in worsted lands at roughly twice the thickness of single crochet in the same yarn. You feel it in the hand immediately.
So where does the wrong side come from in standard Tunisian Simple Stitch? From one specific decision: picking up under the front vertical bar alone. That path leaves the front face ridged and the reverse face barred, and no amount of blocking equalises the two. When I isolated that half of the stitch and set it aside, the two-pass engine stayed exactly as it was. The only thing that changed was the insertion point.
Push the hook completely through the fabric, between the front and back vertical bars, and the pickup grabs both faces at once. The result is a ridge cloned onto the reverse of the cloth. Same geometry, both sides.
Stage The Second Skein
This cloth is exceptionally warm and dense, which is precisely why it eats yarn. Yardage borrowed from an ordinary single-face crochet scarf will fall short here. Before you chain the foundation, put a second 100 g worsted skein on the table where you can see it. Running out at row forty of a double-faced fabric is a particular kind of heartbreak.
A Fourteen-Inch Shaft and a Yarn That Keeps Its Plies
A standard crochet hook cannot do this work. Every loop of the row sits on the shaft simultaneously, so the tool has to be long enough to hold a scarf-width forward pass without loops sliding off the end. For a six- to eight-inch scarf, a straight Afghan hook of 12 to 14 inches is comfortable. A cabled hook works equally well provided the rigid tip runs four to six inches before the cable begins; shorter tips make the through-fabric bite awkward.
Hook size is where most first attempts go wrong. Two passes per row already pack the stitches tightly, and a ball-band hook will lock the fabric stiff as a board. Step two to three metric sizes above the band: a worsted calling for 5 mm wants 6.5 to 8 mm here. I usually settle at 7 mm for a scarf. The fabric should still be dense, but it should drape over your forearm rather than standing up on its own.
Fibre choice matters just as much. Smooth 4-ply wool or wool-blend keeps crisp vertical bars on both faces, which is the entire point of the exercise. Single-ply roving blooms and blurs the ridges; eyelash and bouclé novelties bury them completely. If you are cross-checking weights between brands, the standard yarn weight classifications published by the Craft Yarn Council are the reference I keep bookmarked.
Sizing Past The Band
Swatch before you commit. Gauge on this cloth shifts with how firmly you push the hook through the fabric, so the chain counts and hook sizes here are a starting point to measure against rather than a fixed prescription. Work five rows, flip it, and decide whether the drape suits a scarf or a trivet.
Starting in the Back Bump So the Hem Can Be Mirrored
Chain 22 to 30 for a six- to seven-and-a-half-inch worsted scarf on a 7 mm hook. Then look at the back of the chain and find the bumps running down the centre.
Pull up one loop through the back bump of each chain, one at a time, until 22 to 30 loops sit on the shaft. The reason is structural rather than decorative. Working the back bump leaves the front loops of the chain unused, and those unused loops form a clean V-shaped edge along the bottom of the scarf. That V is what the bind-off will later mirror. Chain under the top loop instead and you get a twisted ridge at the hem that the top edge can never match, which shows the instant someone loops the scarf and both ends hang side by side.
The return pass here stays textbook: chain one, then yarn over and pull through two, repeated across all 22 to 30 loops until a single loop remains. I keep this sequence unmodified so that gauge settles before the modified stitch placement enters the picture.
Before the first forward pass
- Afghan hook long enough to hold the full scarf width — straight 12 to 14 inches, or cabled with a rigid tip.
- Hook two to three metric sizes above the yarn band.
- Smooth 4-ply yarn, with a second 100 g skein staged and ready.
- Foundation loops pulled through the back bump of the chain, never the top loop.
- A window or lamp placed to the side, not overhead, so the ridges read.
Pushing the Hook Between the Bars
Here is the whole modification, in one sentence: on every stitch of the forward pass, insert the hook between the front and back vertical bars and all the way through the fabric.
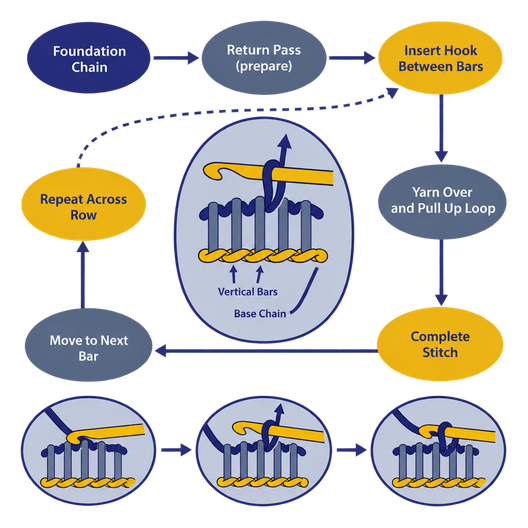
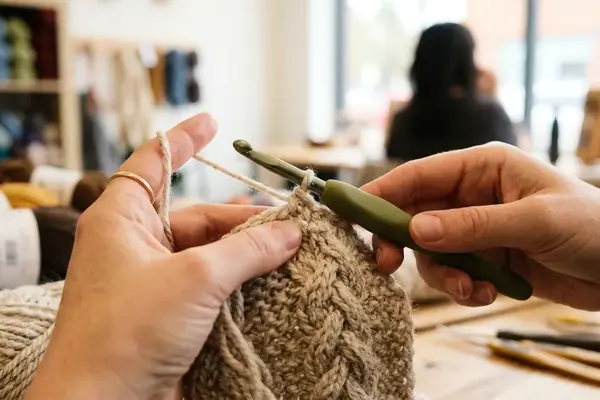
Work it slowly the first few rows. Identify the front vertical bar, identify the back vertical bar sitting behind it, and aim the hook into the gap between them so the tip emerges on the far side of the cloth. Yarn over, pull up a loop, leave it on the shaft. Repeat across the row. Only a through-fabric bite places matching bars on both faces; a front-bar pickup, however tidy, will always leave the reverse barred.
Holding loop height steady
Watch the height of your forward-pass loops obsessively, because the return pass freezes whatever height you left behind. On a 7 to 8 mm hook, an even eight to ten millimetres per loop gives a fabric that drapes. Loops that drift shorter halfway across the row produce a visible density band that reads as a flaw on both faces, since both faces now carry the same structure.
The practical rhythm I use: pull up the loop, slide it a thumb's width down the shaft, and let it find its own height rather than yanking it snug against the previous one.
When the hook starts splitting plies
After three to five rows, the cloth is already dense enough that a rushed push will split 4-ply strands. You will feel it before you see it, a slight gritty resistance instead of a clean slide. When that happens, back the hook out entirely and re-enter. Forcing a split stitch through leaves a fuzzy, weakened point that will eventually pill on whichever face gets more wear.
A rounded hook tip helps considerably. Sharply tapered tips bite into the plies rather than parting them.
Curl, Edge Drag, and the Braided Selvedge
Tunisian fabric has a reputation for curling, and on this project the curl behaves differently than most crocheters expect. The through-fabric stitch already balances front and back, which removes most of the stitch bias that causes classic curling. What remains is edge drag: the selvedge cinching tighter than the interior because of how the work is handled at the turn.
Two habits fix it.
- Relax the first loop of every forward pass. Pull it to the same eight to ten millimetres as the interior stitches, never tighter. The instinct to snug up that first loop for neatness is the single most common cause of a cupped long edge.
- Take the final stitch under both side loops. At the left edge, insert the hook under both left-edge vertical strands before pulling up the loop. This braids the selvedge into a firm, decorative cord instead of leaving a column of loose single loops that stretch out of shape.
Where a season of worsted scarf samples shows the pattern most clearly, it is the braided left edge that survives wear and washing best. The braid gives the edge something to hold onto.
If the foundation or bind-off edge still cups after eight to ten rows, wet-block it. Pin along both long edges and leave it twelve to eighteen hours. Wool responds; a dense, double-faced cloth holds the correction well once dry.
A Top Edge That Reads as the Hem's Twin
The bind-off is where symmetry is either earned or lost, and the rule is simple: keep the same through-fabric insertion you have used for the entire body.
Work a slip-stitch bind-off, one stitch at a time across all 22 to 30 stitches. Insert the hook through the fabric exactly as for the modified stitch, yarn over, then pull through the fabric and the loop already on the hook. Move to the next stitch. No return pass, no chain one.
Tension at the top stays as relaxed as the selvedge. Tighten it and the top V pinches inward, and the two ends stop matching the moment the scarf is flipped. The finished top edge should read as a clear pair to the back-bump foundation V when you turn the piece over. Drop a front-bar-only slip-off onto a back-bump foundation and the two edges will never agree, no matter how carefully you blocked.
What The Flip Proves
Two checks tell you the scarf worked. Flip it and confirm the bars read identically on both faces. Then fold it end to end and confirm the hem V and the bind-off V look like siblings. A sixty- to seventy-inch scarf typically lands across eight to twelve evening sittings of forty to fifty-five minutes once the stitch is genuinely in your hands.
One decision remains, and it has to be made before you commit the first full row, because this cloth does not forgive a colour change of heart at row thirty. So which will it be: a solid colour that throws every architectural bar into relief under that low winter sidelight, or a slow-striping yarn where the two faces let you watch the colours interlock from both sides at once?

Discussion
No comments yet. Be the first!
Write a Comment