
A sleeve can fit beautifully through the bicep and still cover half the hand. The usual temptation is to keep knitting, shorten the cuff, or scatter a few extra rows wherever the pattern looks forgiving. Each choice changes the silhouette.
A cleaner adjustment begins by treating the sleeve as its own geometric shape. Its stitch counts establish width, while its rows establish height. Once those jobs are separated, the knitter can preserve the designer’s intended ease and rebuild the length around the arm that will actually wear the sweater.
Separate the Sleeve’s Height From Its Ease
The printed schematic encodes someone else’s arm. A bar marked 43 cm or 45 cm may describe the sample perfectly, yet it has no authority over where another wearer wants the cuff to break.
Sleeve modification is a row-count rewrite. The knitter recalculates the vertical distance from the underarm join to the cuff join while keeping the established bicep and wrist stitch counts. Those stitch counts hold the circumference and, with it, the intended ease.
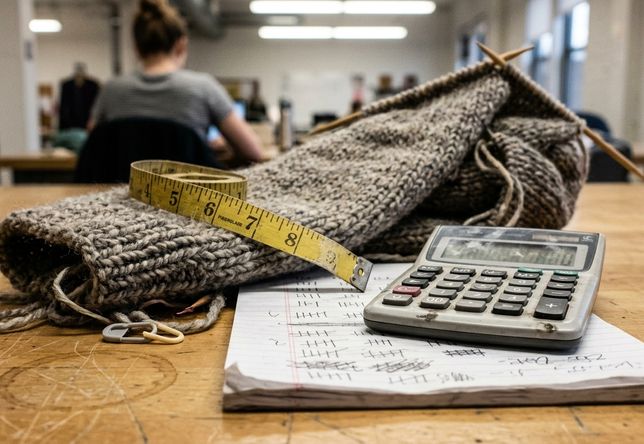
Classic sweaters commonly carry roughly 2.5–5 cm of positive ease at the bicep. If that width already feels right, changing the stitch counts to solve a length problem creates a second alteration that the sweater never needed. The sleeve may end up narrower at the elbow, wider at the wrist, or visibly different from the pattern photograph.
Read the Sleeve as a Shape
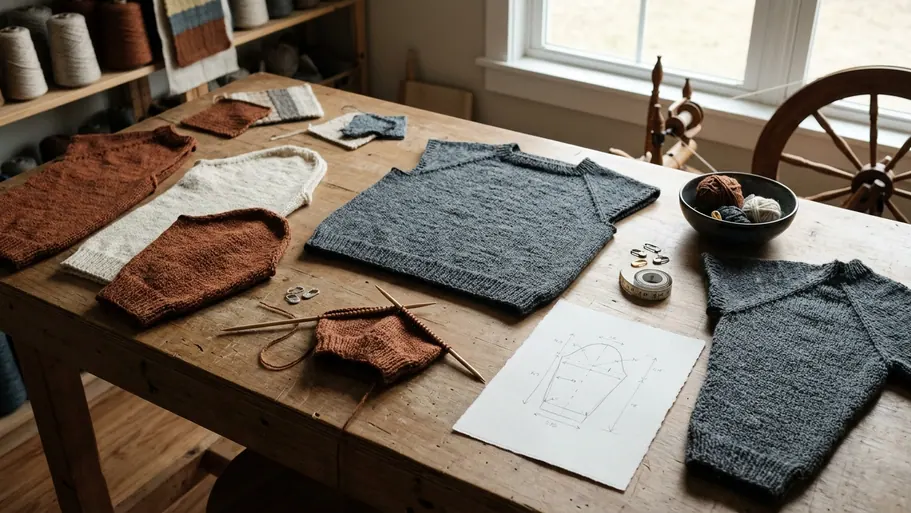
Picture the sleeve body as a truncated cone. The upper-arm stitch count forms the wide end, the wrist stitch count forms the narrow end, and the rows between them establish the height. Lengthening or shortening that height requires the taper to be redistributed through the new row total.
Keep Ease Put
When the bicep and wrist circumferences already fit, carry those stitch counts into the revised sleeve. Rework the rows and shaping intervals instead.
Measure the Arm, Then Build the Row Budget
The most useful sleeve measurement starts in the underarm hollow and finishes at the wrist bone where the cuff should break. The elbow should be flexed by 15–20 degrees. A locked-straight arm produces a longer reading and can leave the finished cuff pooling at the wrist.
This is easier with another person holding the tape, though the wearer can check the reading in a mirror. The tape should follow the arm without sagging or pulling tightly across the elbow.
Remove the Cuff Before Multiplying
The full anatomical measurement includes both the sleeve body and its edging. Row-gauge mathematics needs the body alone, so subtract the planned cuff depth first. A 2×2 rib might occupy about 5 cm. A folded hem may use 6–7 cm.
Leaving that cuff inside the multiplication is how a tidy 106-row sleeve body collapses into excess length. The ribbing gets counted once as part of the body calculation and then knitted again at the end.
- Measure from the underarm hollow to the desired wrist break.
- Subtract the finished cuff or hem depth.
- Record the remaining main-body length in centimetres.
- Multiply that length by the blocked row gauge per centimetre.
The working formula is:
Main-body length × (row gauge ÷ 10 cm) = body rows
At 28 rows per 10 cm, a 38 cm sleeve body receives a budget of 106 rows. Those rows must contain the plain sections and every shaping round before the cuff begins.
Wash Before Math
Use row gauge from a blocked swatch. An unwashed swatch can miscount the sleeve body by several rows once the finished garment meets water.
Row gauge deserves the same attention as stitch gauge here. A swatch may match the required width while changing appreciably in height after washing. Measure the blocked fabric over 10 cm, in the stitch pattern used for the sleeve, rather than relying on the yarn label.
Turn the Taper Into a Repeatable Interval
With the row budget fixed, the next task is to place the shaping. Start with the pattern’s upper-arm and wrist stitch counts. Their difference reveals how many stitches the sleeve must gain or lose across its length.
Suppose the two counts differ by 40 stitches. A standard shaping round changes 2 stitches, one on each side of the underarm line. The sleeve therefore needs 20 increase or decrease rounds.
Divide Rows by Shaping Rounds
Divide the body-row budget by the number of shaping rounds:
106 body rows ÷ 20 shaping rounds = a 5-row interval with 6 rows remaining
The practical instruction becomes a shaping action every fifth row or round, according to the construction. Those six remaining rows need deliberate placement. Splitting them evenly gives three plain rows near the cuff and three near the underarm.
That small act of distribution matters. Parking every leftover row at one end can produce a long straight patch before the taper suddenly begins. Balanced plain sections allow the change in width to read as a smooth line.
Custom Sleeve Interval Tracker
- Record blocked row gauge over 10 cm from the washed swatch.
- Write the anatomical length, cuff length, and main-body length in centimetres.
- Compute the body rows and the stitch difference between bicep and wrist.
- Divide the stitch difference by the 2 stitches changed in each shaping round.
- Divide body rows by the resulting number of shaping rounds.
- Assign remainder rows to the plain sections near cuff and underarm.
A mechanical row counter helps with the interval, especially through a long stretch of stockinette. Reset it after each shaping round and tick a notebook column after completing each increase or decrease pair. The counter tracks distance; the notebook confirms how many shaping events have happened.
Count the Pairs
A perfectly maintained interval can still end at the wrong stitch count if one decrease pair is missed. Track both the rows between shaping rounds and the total number completed.
Construction Direction Changes the Calculation
The same taper behaves differently depending on where the knitting begins.
Top-Down Sleeves Allow Live Checks
A top-down sleeve worked in one piece grows from the underarm toward the wrist, so its shaping sequence uses decreases. Once the fabric passes the elbow, the wearer can try it on after every 8–12 rows. Stop when the hanging fabric reaches the wrist bone, then work the cuff.
This construction gives the knitter room to add or remove plain rows before the cuff. The planned interval still matters because it protects the taper and wrist count, but the final plain section can respond to a real fitting rather than the tape alone.
Bottom-Up Sleeves Demand an Early Decision
A bottom-up sleeve reverses the sequence. It begins at the cuff and uses increases while travelling toward the upper arm. The full body-row count, number of increase rounds, interval, and remainder placement should be settled before casting on. A meaningful mid-sleeve correction generally requires ripping back.
Construction also determines where the tape measurement belongs. For set-in and raglan sweaters, identify the actual underarm join and distinguish the sleeve tube from any upper shaping that belongs to the armhole or yoke.
Drop-shoulder sweaters need a more visible correction. Their shoulder joins commonly sit 5–8 cm below the underarm hollow. The knitted tube should be shorter by that same amount compared with a true hollow-to-wrist measurement.
Respect Shoulder Drop
Copying a set-in sleeve’s hollow-to-wrist measurement onto a drop-shoulder tube builds the lowered shoulder depth into the garment twice. Measure from the sweater’s actual sleeve join.
Let the Fiber Have the Final Say
Arithmetic sets the target. Wet blocking determines where the fabric finally settles.
Superwash merino and cotton sleeves often lengthen 1–2 cm after a wet block and hang-dry. That change is measured from underarm to cuff after roughly a day or two of drying. Plant fibers and superwash wool can grow vertically under their own damp weight even when the stitch gauge appears stable.
For heavy worsted or aran yarn in those fibers, stopping 4–6 rows short of the calculated body total can reserve space for that growth. The cuff then begins before the unblocked sleeve reaches its theoretical target.
Compare Swatch and Sleeve Conditions
The washed swatch remains the best available guide when it has been dried in a way that resembles the finished sweater. A swatch laid flat and a heavy sleeve hanging from a wet garment experience different forces, so the final fitting should also consider the yarn’s weight and drape. This assessment is a practical forecast based on the blocked fabric rather than a fixed promise of growth.
At bind-off, let the sleeve hang naturally and check its position against the wrist bone. One choice gives the wearer the desired length immediately. The other leaves a deliberate centimetre of shortfall for the first wash and hang-dry.
When the cuff reaches the needles, will you bind off for the wrist you see now or reserve that final centimetre for the fiber after washing?




Discussion
No comments yet. Be the first!
Write a Comment