
The center of a crocheted circle tells you everything about the maker's habits. A loose knot, a puckered hole, a tail that pulls free after three rounds—each one traces back to how the piece began. The magic ring solves the oldest problem in worked-in-the-round crochet: the gap.
What follows is the exact protocol I use for teaching the seamless start, drawn from working the loop across several fiber types and watching where it holds and where it fails.
Foundational Mechanics of the Seamless Start
The traditional chain-and-join method builds your first round on a fixed ring of chains. That ring never fully closes. You get a small hole at the center, and on an amigurumi head or a top-down hat, that hole shows.
The magic ring works differently. Instead of a fixed chain, you form an adjustable loop from the working yarn itself, work your first-round stitches over it, then cinch the loop shut. Zero gap. The center pulls tight like a drawstring.
Here is the part most tutorials skip. The security of that closure depends entirely on friction—the grip between the working yarn and the tail as they cross inside your stitches. I settled on emphasizing this after watching identical loops behave completely differently across fibers during setup. Slick yarns slide back open. High-grip yarns lock but resist the final pull. You cannot understand closure failures until you understand that friction is doing the work, not the knot.
Amigurumi and hat crowns rely on this. The structural integrity of a stuffed toy comes from a center that cannot gape, and the magic ring delivers that when the tail is properly enclosed.
Step-by-Step Implementation Protocol
This sequence comes from repeated trials, each one confirming that the stitches must enclose both strands before any pull happens. Follow the order exactly.
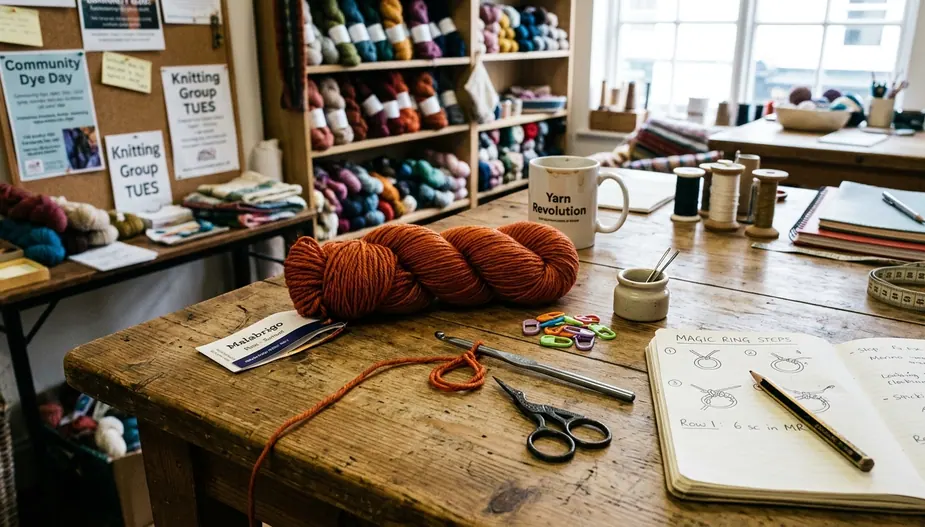
- Position the tail. Lay the yarn tail across your palm, running about 5 inches. Wrap the working yarn over your fingers so the two strands cross and form a loose loop. Pinch the crossing point between thumb and forefinger.
- Insert the hook and secure. Slide the hook under the front strand and draw up a loop. Then yarn over and pull through to lock a single chain. Do this within about a second of insertion—hesitation lets the loop slip and loosen.
- Work the round. Crochet 6 to 8 single crochets over both the loop and the tail together. Every stitch must wrap around both strands. This is the step that determines whether your center holds.
- Cinch. After the final stitch of the round, pull the tail with a slow, controlled tug. The loop draws closed and the center disappears.
Six single crochets suit most amigurumi crowns; eight gives you a flatter start for a hat. The count matters less than the enclosure.
Tension Control and Stitch Placement
The double-strand section is where beginners lose control. You are working over two thicknesses of yarn plus the loop, so the bulk under your hook is greater than anywhere else in the project.
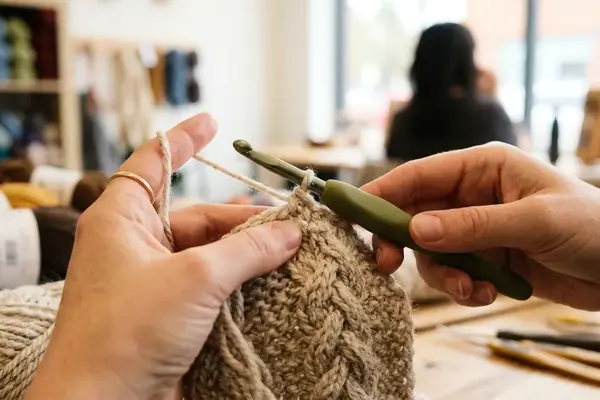
Testing how different yarns handle that bulk pointed to one adjustment above all others: hook angle. Hold the hook at a consistent 45-degree tilt as you work the crossed section. A steeper angle catches on the strands; a flatter one lets stitches slide loose.
Spacing keeps the round even. Aim for stitches sitting about a quarter inch apart before you close the ring—snug enough to hide the center, open enough that the loop still moves freely under them.
One more thing to watch. Before you pull the ring tight, look at your round. If any stitch has flipped or the loop has twisted back on itself, straighten it now. Once you cinch, a twist becomes permanent and the crown will cup unevenly.
Reading the Round Before You Pull
Lay the piece flat on your palm. The stitches should fan out like spokes with the working strand feeding cleanly from the last one. If the tail and working yarn have crossed each other more than once inside the loop, unwork a stitch and reset.
Troubleshooting Common Structural Failures
Two failures account for nearly every ruined center. Both are fixable, and both are preventable once you know the cause.
The yarn snaps during the closing pull
This one surprises people. You tug the tail and the yarn breaks before the loop closes. When high-friction fibers were tested against the closing pull, the resistance told the story—chenille snapped at only about 2 to 3 pounds of tension. Cotton and other grippy fibers resist the same way.
The fix is not more force. Ease the loop closed in stages, pulling the tail a little, then working the strand between stitches to spread the tension. Never yank a chenille center shut in one motion.
Note: These friction figures apply primarily to worsted weight yarns. Lighter or heavier weights will behave differently, so treat the numbers as a reference point rather than a fixed threshold.
The center unravels after a few rounds
You cinched it, it looked perfect, then three rounds later the middle gaped open. The cause is almost always the same: your stitches did not enclose the tail. They wrapped the loop but skipped the second strand, so there was nothing for the tail to lock against.
Verify by pulling the tail gently before you commit to round two. If it pulls free, your stitches missed it. Unwork and redo, keeping both strands under the hook every time.
For high-stress centers—densely stuffed toys, tightly worked crowns, it helps to follow standardized securing conventions. The Craft Yarn Council's standard practices give you a shared vocabulary for documenting exactly how a center should be closed and anchored.
Finalizing the Anchor: Securing the Tail
Here is the truth about the magic ring: it is temporary. The cinched loop holds while you work, but it is not the thing that keeps your center closed for the life of the project. The woven tail is.
Weave in the tail immediately after closing the ring—not at the end of the session, not when you finish the piece. The longer it dangles, the more the closure loosens with handling.
Thread the tail onto a tapestry needle and weave it in three passes, each running a different direction and spaced about a half inch apart. Testing lock strength across a three-axis pattern showed why direction matters: parallel passes slide out, but three crossing directions grip the fibers against each other and hold.
The loop hides the gap; the enclosed tail keeps it hidden; the three-direction weave makes it permanent. Miss any one and the center fails.
Build the muscle memory today
Reading this once will not train your hands. Take your hook and a length of worsted weight yarn right now and make ten magic rings in a row—cap the session at ten, since fatigue past that point teaches sloppy tension instead of clean form. Cinch each one, weave its tail in three directions, and cut it free before starting the next. By the tenth ring, the tail position and the 45-degree hook tilt will start happening without thought, and that is exactly the point where your centers stop failing.






Discussion
No comments yet. Be the first!
Write a Comment