
A dropped stitch in stockinette is an annoyance. A dropped stitch in lace can feel like watching a small tear open in something you spent a weekend building. But the fix is almost always more manageable than the panic suggests, and the calmer you stay in the first half-minute, the more of your work you keep.
This is a walkthrough for reading, securing, and rebuilding a dropped stitch inside lace fabric — the kind of repair that saves hours instead of surrendering them.
In this Article
- The Evolution of Lace Repair Techniques
- Structural Anatomy of a Lace Fabric
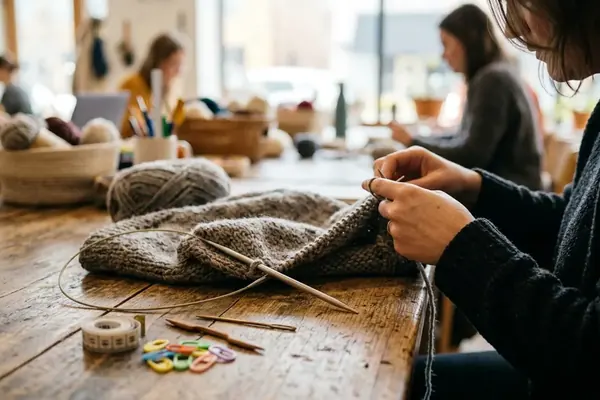
- Essential Diagnostic and Repair Tools
- Immediate Triage: Securing the Drop
- Reconstructing the Stitch Column
- Assessing Structural Integrity: When to Unravel
- Next Steps: Securing Your Progress
The Evolution of Lace Repair Techniques
The lace traditions we borrow from today grew out of very specific places. Shetland knitters spun wool fine enough to pull a full shawl through a wedding ring, and Estonian knitters built dense, sculptural motifs into their scarves and shawls. Both worked at cobweb and lace weights, where a single lost loop threatens far more than one stitch.
Those early masters had no locking stitch markers, no bright LED task lamps, no plastic hooks in a dozen graded sizes. What they had was fluency. They could look at a fabric and read it the way you read a sentence — tracing where a stitch belonged before touching it.
That habit is the real inheritance. The modern repair kit is newer than the technique it serves. Every method below descends from one old principle: isolate the error, understand it, and only then decide what to do. Unraveling hours of meticulous work was always the last resort, never the first.
Structural Anatomy of a Lace Fabric
Lace is built from a deliberate conversation between increases and decreases. A yarn over opens a hole; a paired decrease — a k2tog leaning right, an ssk leaning left, consumes a stitch to balance it. That give-and-take is what creates the negative space we love.
It also changes how a drop behaves. In stockinette, a dropped stitch runs straight down a single tidy column. In lace, the decreases pull the fabric on a bias, so a loose loop doesn't fall in a straight line. It travels sideways.
The propagation path is the thing to respect here. In decrease-heavy lace, a single dropped stitch can ladder across three adjacent columns within two rows, because each decrease was holding tension for its neighbors. Lose one anchor and the load redistributes fast.
A quick honesty check before you get confident: standard single-decrease lace is genuinely predictable to repair, and most of this article assumes that structure. Complex Estonian nupps and double or triple decreases are a different animal. They introduce structural limits that laddering can't cleanly solve, and they often require localized unraveling instead. Estonian star motifs are especially unforgiving — column alignment can shift after around the sixth row of a repair, so what looked correct lower down stops matching the chart higher up.
Essential Diagnostic and Repair Tools
You don't need much, but the sizing matters more than the quantity.
- A small crochet hook — noticeably finer than your knitting needle. A hook that's too large stretches yarn overs as you pull loops through and leaves them gaping.
- Locking stitch markers or safety pins, for catching the live loop before it runs.
- A tapestry needle, for lifelines and for weaving in any tail you need to stabilize.
- Directional, strong light, angled across the fabric, not flat onto it.
That last item does more work than people expect. Fine fibers hide their rungs under diffuse overhead light. A raking light from the side throws each horizontal bar into shadow, and suddenly you can count exactly how many rows the stitch has fallen and which rung comes next.
Quick Tip: Match your hook to the yarn, not your ego. Reach for a crochet hook roughly half a millimeter smaller than your working needle. The slightly undersized hook slips through the loop without tugging the delicate yarn overs on either side.
Immediate Triage: Securing the Drop
Stop. The single most useful thing you can do is put the fabric down flat and resist every instinct to pull it taut to "see the damage." Tension is the enemy right now.
The decision to secure the live loop before anything else comes straight from watching how bias propagation works in decrease-heavy lace. Because that single loop can ladder across three adjacent columns within two rows, the clock matters. Aim to get a locking marker or safety pin through the live loop within the first half-minute or so of spotting the drop. That one move stops the descent.
Once the loop is caught, reduce the load on the repair zone. Slide the surrounding stable stitches onto spare needles or stitch holders — holding the eight to twelve stitches nearest the drop takes strain off the exact spot you're about to work. The fabric relaxes, the ladder rungs sit still, and you can actually see what you're doing.
Note: This triage sequence assumes the drop hasn't yet slipped past a double decrease. Once a loop has run through a double decrease, laddering back up cleanly is no longer reliable, and you should skip ahead to the section on assessing whether to unravel.
Reconstructing the Stitch Column
Now the rebuilding. This is where lace repair earns its reputation for looking harder than it is, because you're not just pulling loops up — you're re-knitting a pattern one rung at a time.
Work backward through the chart or written row. Read each rung to decide what it should be before you make it: a knit, a purl, a yarn over, or a decrease. Reconstructing forward — in the direction you'd normally knit, tends to produce twisted yarn overs through the bias sections, which is exactly why reading the pattern in reverse is the more dependable order.
The rung-by-rung method
- Identify the lowest secured rung and the horizontal bar sitting just above the live loop.
- Consult the chart backward to name that rung's stitch.
- For a plain knit rung, hook the horizontal bar and draw it through the loop from front to back.
- For a yarn over, don't pull the bar tight. Draw it through while leaving intentional slack — a millimeter or two, so the hole matches its neighbors instead of clenching shut.
- Recreate any decrease by matching its lean, then move up to the next rung.
Settle into a rhythm. Each rung takes only a few seconds once you trust the reading, and holding that slight slack on every yarn over is what keeps the repaired column breathing like the rest of the fabric.
One material warning worth its own line: mohair fibers catch on the hook tines and fight you. Expect a few extra passes per rung to coax a fuzzy loop through cleanly. It's slow, not impossible.
Assessing Structural Integrity: When to Unravel
Not every drop deserves a ladder repair. Part of the skill is knowing when the fabric has crossed a threshold where rebuilding causes more distortion than starting the rows over.
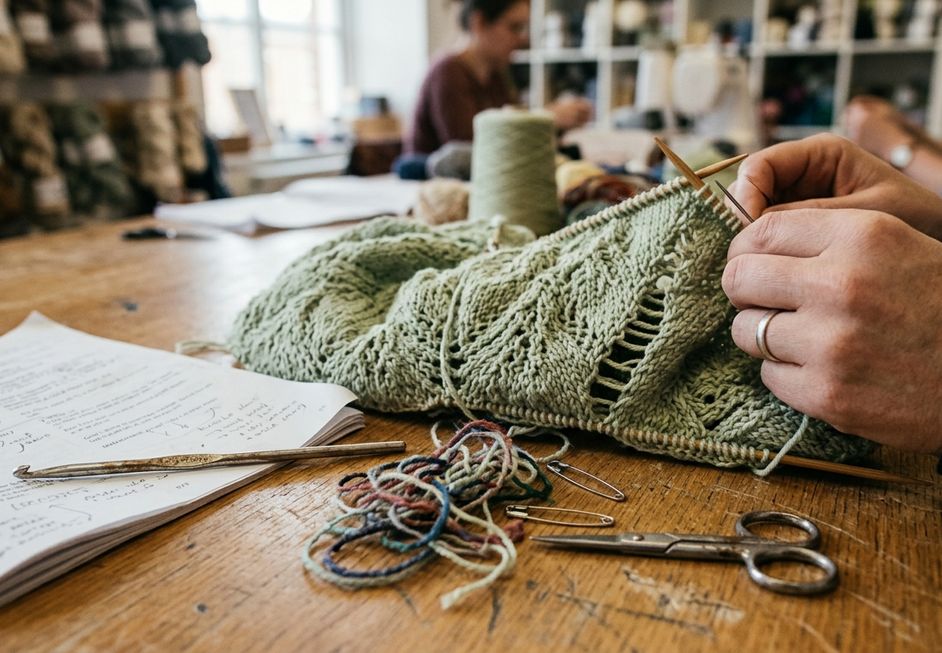
Two ways down exist, and they serve different situations. Tinking — un-knitting stitch by stitch, backward, gives you total control and keeps every live stitch accounted for. Frogging, pulling the needle out and ripping whole rows, is fast but blunt, and in lace it can spill yarn overs everywhere.
Here's the judgment call. If a drop has traveled through multiple complex motifs, or if the yarn is highly textured like mohair, controlled tinking is usually the safer bet and often the faster one too. A multi-row ladder repair through fuzzy fiber and shifting motifs can eat more time than calmly un-knitting to a clean row and reworking from a chart you can actually follow.
The short version: Ladder repair for isolated drops in predictable single-decrease lace. Tink when the damage crosses motifs, passes a double decrease, or lives in textured yarn. Frog only when a large area is genuinely beyond salvage.
Next Steps: Securing Your Progress
Before you knit a single new row, do this now. Thread a smooth, contrasting length of scrap yarn onto your tapestry needle and run it through every live stitch currently on your needle.
That lifeline is your insurance. With it in place, any future drop can only unravel down to this exact secured row — no further. You'll never again lose more than a handful of rows to a runaway stitch.
Then run through the final checks before you resume:
- Insert the lifeline through the current row before resuming.
- Block the repaired area at slightly lower tension than the surrounding fabric so it eases into shape.
- Verify each reconstructed decrease aligns with its chart symbol.
Thread that lifeline right now, while the needle is already in your hand — then pick the pattern back up on the very next row.





Discussion
No comments yet. Be the first!
Write a Comment